WordPress is one of the most popular content management systems (CMS) in the world, powering over 40% of all websites. Whether you want to create a personal blog, a business website, or an e-commerce store, WordPress offers the flexibility and tools to make your vision a reality. This guide will take you from zero to hero in WordPress development, covering everything you need to know to get started.
Understanding WordPress
What is WordPress?
WordPress is an open-source CMS that allows users to create and manage websites easily. It is built on PHP and uses a MySQL database. The platform is highly customizable, thanks to thousands of themes and plugins that extend its functionality.
Why Choose WordPress?
- User-Friendly: WordPress has an intuitive interface, making it accessible for beginners.
- Flexibility: Whether you’re building a blog, portfolio, or online store, WordPress can accommodate your needs.
- SEO-Friendly: WordPress is designed with SEO best practices in mind, helping your site rank better in search engines.
- Community Support: With a large community of developers and users, finding help and resources is easy.
Getting Started with WordPress Development
Step 1: Setting Up Your Environment
Before diving into development, you need to set up your environment. Here are the key steps:
Choose Your Hosting
Select a reliable hosting provider that supports WordPress. Popular options include:
- Bluehost
- SiteGround
- WP Engine
Most hosting providers offer one-click WordPress installation, making it easy to get started.
Install WordPress
Once you have your hosting account set up, install WordPress. Most hosting providers have a simple installation process. Follow the prompts to set up your site, including choosing a domain name and creating your admin account.
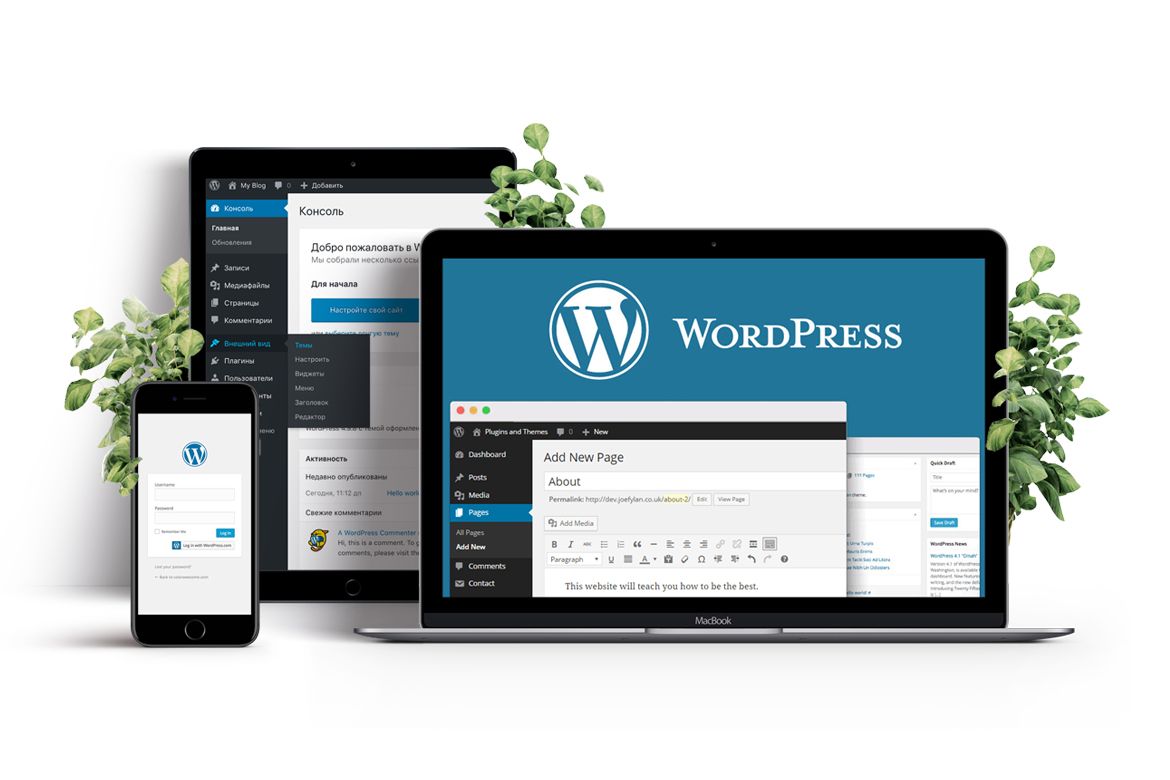
Step 2: Exploring the WordPress Dashboard
After installation, log in to your WordPress dashboard. This is your command center for managing your website. Familiarize yourself with the main sections:
- Posts: Where you create and manage blog posts.
- Pages: For static content like “About” or “Contact” pages.
- Media: To upload and manage images, videos, and other files.
- Appearance: Customize your site’s look and feel through themes and widgets.
- Plugins: Extend your site’s functionality with additional features.
- Settings: Configure general site settings, including permalinks and privacy options.
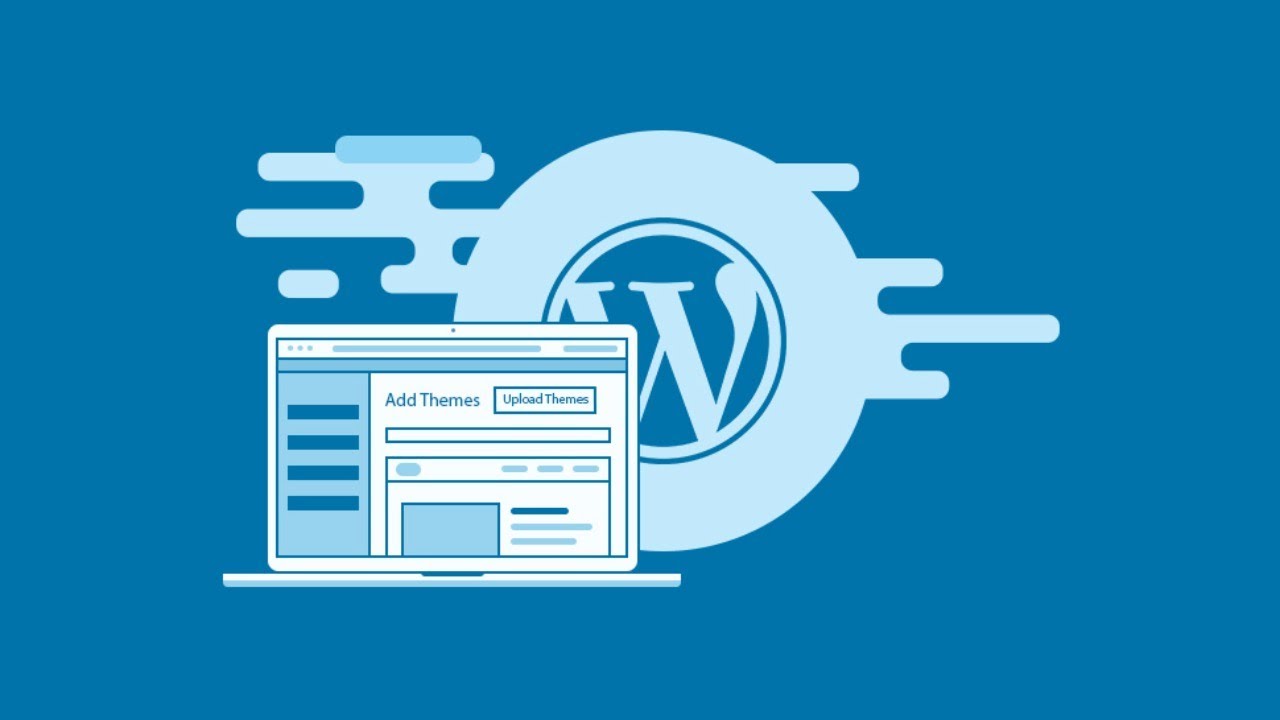
Step 3: Choosing a Theme
A theme determines your site’s design and layout. WordPress offers thousands of free and premium themes. To choose a theme:
- Go to Appearance > Themes.
- Click Add New to browse available themes.
- Use the search feature to find specific themes or filter by categories.
- Preview and install the theme that suits your needs.
Customizing Your Theme
Once you’ve installed a theme, customize it:
- Go to Appearance > Customize.
- Modify site identity, colors, menus, and widgets.
- Use the live preview feature to see changes in real time.
Step 4: Installing Essential Plugins
Plugins are essential for adding functionality to your WordPress site. Here are some must-have plugins for beginners:
- Yoast SEO: Helps optimize your site for search engines.
- Wordfence Security: Provides security features to protect your site.
- WooCommerce: Turns your site into an online store.
- Elementor: A drag-and-drop page builder for easy customization.
- UpdraftPlus: A backup plugin to keep your site safe.
To install a plugin:
- Go to Plugins > Add New.
- Search for the desired plugin and click Install Now.
- Activate the plugin after installation.
Step 5: Creating Content
Content is the heart of your website. Start by creating posts and pages:
Creating a Blog Post
- Go to Posts > Add New.
- Enter a title and add your content using the block editor.
- Use headings, images, and links to enhance your post.
- Assign categories and tags for better organization.
- Click Publish when you’re ready to share your post.
Creating a Page
- Navigate to Pages > Add New.
- Add your content and customize it using the block editor.
- Click Publish to make the page live.
Step 6: Configuring Settings
Take some time to configure your site settings for optimal performance:
- Permalinks: Go to Settings > Permalinks and choose a URL structure that enhances SEO, such as “Post name.”
- Reading Settings: Decide whether to display your latest posts or a static page on the homepage.
- Discussion Settings: Configure how comments are managed on your posts.
Step 7: Learning Basic HTML and CSS
While WordPress is user-friendly, understanding basic HTML and CSS can enhance your development skills. Here are some resources to get started:
- W3Schools: Offers tutorials on HTML and CSS.
- MDN Web Docs: Comprehensive documentation for web technologies.
Step 8: Exploring Advanced Features
Once you’re comfortable with the basics, explore advanced features:
- Custom Post Types: Create custom content types beyond posts and pages.
- Custom Fields: Add additional data to your content for more complex sites.
- Child Themes: Safely customize themes without losing changes during updates.
Step 9: Engaging with the Community
Join the WordPress community to learn and grow:
- WordPress Forums: Ask questions and share knowledge.
- Meetups and WordCamps: Attend events to network and learn from experts.
- Online Courses: Platforms like Udemy and Coursera offer WordPress development courses.
Step 10: Keeping Your Site Updated

Regularly update your WordPress version, themes, and plugins to ensure security and performance. Backup your site frequently, and monitor for any issues.
Conclusion
Congratulations! You’ve taken the first steps toward becoming a WordPress developer. With practice and exploration, you can build and manage a wide range of websites. Remember, the key to success is continuous learning and engagement with the WordPress community. From zero to hero, your WordPress journey has just begun!